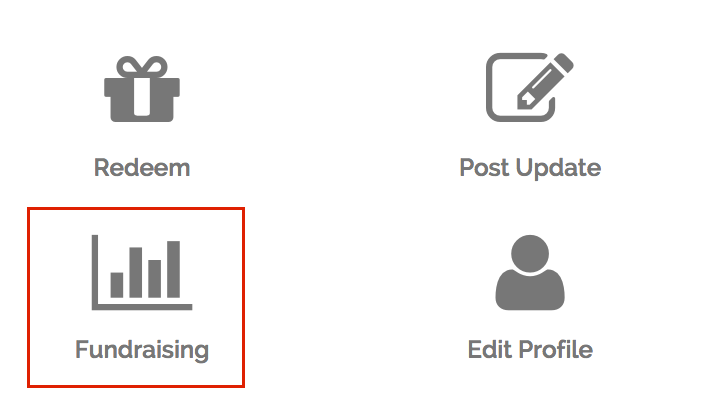
To setup or edit a members fundraising goal you will pull up their profile from the admin dashboard and select the "Fundraising" option.
Setting up a goal is really easy there are two major pieces to setting it up:
1. What are they fundraising for?
This includes:
- The actual item or service needed
- VERY brief description of why they need it.
- The cost of the item/service.
2. Why do they need this, or how is this going to help them?
This includes:
A more detailed explanation of how obtaining the item or service will take them a step further in their life, or help better their current situation. Donors want to know how contributing to the specific goal will have an impact.
Here is a look at the fundraising settings page:
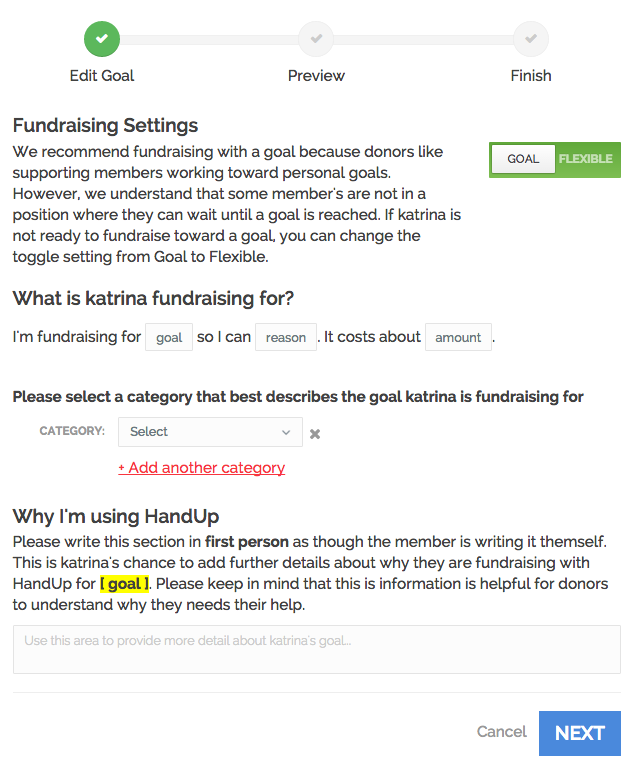
IMPORTANT NOTE: You MUST click all the way through the Fundraising settings flow in order for any changes to be saved.
Setting up your goal:
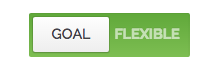
1. Decide if the member wants to set a specific goal, or a more general flexible use fund. We highly recommend a specific goal as these types of profiles are funded much faster. If the member is unsure or has many needs, they can choose a flexible fundraiser.
See: to learn more about goal vs. flexible fundrasing
Once you've decided which type of fundraiser they would like to set up you select it here:
2. Complete the mad libs-style heading for the member's profile. This will appear as a header at the top of the member's public profile page, so make sure it reads well and has proper grammar.

GOAL: enter the actual item or service.
REASON: enter what they can accomplish by fulfilling this need.
AMOUNT: enter the estimated price. Keep in mind any related fees, taxes, shipping, it is always best to over estimate just a bit to account for any unexpected fees.
Example: I'm fundraising for paying a past due utility bill so I can obtain permanent housing. It cost about 400.
3. Now from the drop down menu, you will select which category this need falls under. If it qualifies for multiple categories you can select "+ Add another category"

This ensures the goal gets sorted properly so if donors search to support goals in a specific category, your clients profiles will show up accordingly. It is also helpful for your organization to see which categories are most requested, this way you can begin to see patterns and adapt your programs accordingly.
4. The last step is to write a detailed explanation of why they need this and how this will help them move forward. Whatever you write in this field will be the first thing donors read on your members profile so it should be clear, specific, and to the point. You can think of this as the hook that will get the donor to continue reading the rest of the profile and hopefully donate - make it enticing!
An example based on the previous example in step 2:
I am currently homeless and working with an agency to obtain permanent housing. One of my barriers for being able to qualify for housing is a past due PG&E bill. I am hoping to meet this goal so that I can obtain housing before my time ends in the program.
5. Once you're done, click "Next" and you'll be shown a preview of what their profile will look like. You will see the madlibs headline you created as well as the explanation you typed up, this is your change to review and proofread to make sure everything looks good and makes sense. Click "Back" to edit, or "Next" when it looks ready to be made public.
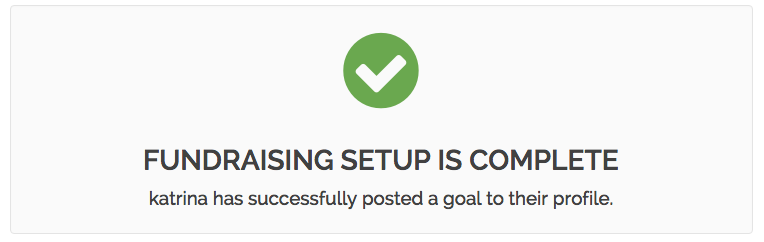
This screen should show to let you know you've completed the process and your goal has been set up successfully:
NOTE: If you're client has had a previous goal before this then you will see the "Update" screen that will prompt you to send an update to donors to let them know about the new goal. You must send an update or select to skip and proceed through in order to complete the goal set up.
Comments
0 comments
Please sign in to leave a comment.